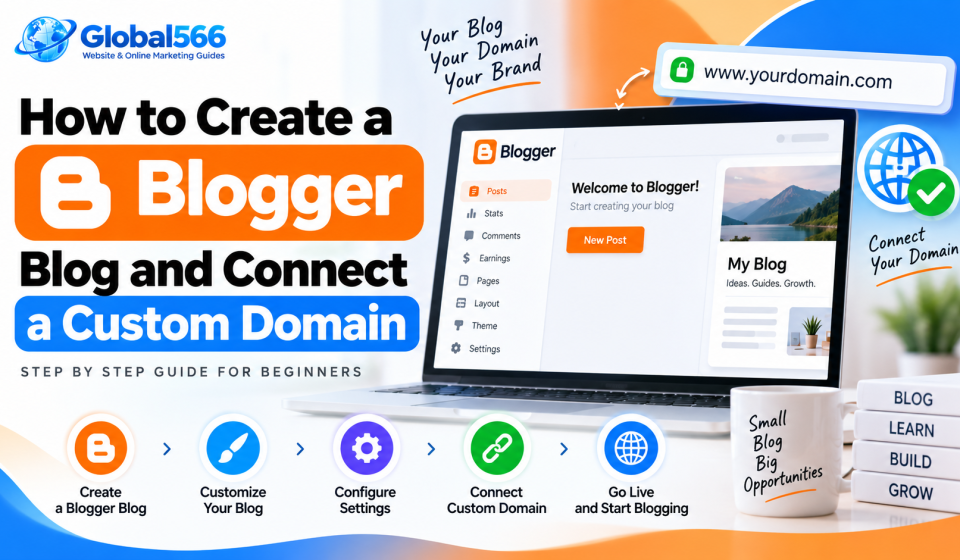

Blogger lets you create a blog using a Google account and publish posts without buying web hosting.
You can start with a free Blogger address such as:
yourblog.blogspot.com
Then connect your own domain later, such as:
yourblog.com
The basic setup takes only a few steps.
What you need to create a Blogger blog
You’ll need:
- A Google account
- A Blogger blog
- A blog name
- A custom domain if you want your own
.com,.net, or another domain
You don’t need separate web hosting for Blogger.
Google hosts the blog for you.
How to create a Blogger blog
Go to Blogger and sign in with your Google account.
Click Create New Blog or New Blog, depending on what you see in your Blogger dashboard.
Enter the name of your blog.
For example:
Tech Setup Guide
Click Next.
Now choose your Blogger address.
For example:
techsetupguide.blogspot.com
Blogger will check whether the address is available.
If it’s already taken, you’ll need to choose another one.
Once you’ve picked an available address, click Save.
Your blog is now created.
Choose a Blogger theme
Open your Blogger dashboard and go to:
Theme
You’ll see different themes you can use for your blog.
Pick a theme that fits your content.
Then use the customization options to change things such as:
- Background
- Colors
- Fonts
- Blog width
- Header
- Sidebar
- Layout
Keep the design readable.
A blog doesn’t need 14 colors, 9 font styles, and a spinning logo in the corner. Your readers came for the posts.
Add important Blogger pages
Create the basic pages your blog needs.
Go to:
Pages → New Page
You can create pages such as:
About
Contact
Privacy Policy
Terms and Conditions
Write the content for each page and publish it.
Then add these pages to your blog’s navigation.
How to publish your first Blogger post
Go to:
Posts → New Post
Enter your post title.
Then write your article in the editor.
You can add:
- Images
- Links
- Headings
- Lists
- Videos
- HTML
When the post is ready, click Publish.
Open your blog in another browser tab and check the published page.
How to buy a custom domain for Blogger
A custom domain is your own website address.
For example:
myblog.com
You can buy a domain from a domain registrar.
Search for the domain you want and register it.
You don’t need to buy web hosting separately because Blogger hosts your website.
Before buying a domain, check the renewal price too. A domain that costs ₹99 for the first year can have a very different renewal price.
How to connect a custom domain to Blogger
Once you own the domain, open Blogger.
Go to:
Settings → Publishing
Find Custom domain.
Enter your domain.
For example:
www.myblog.com
Click Save.
Blogger will usually show you DNS records that you need to add at your domain registrar.
You’ll see records similar to these:
Type: CNAME
Name: www
Destination: ghs.googlehosted.com
Blogger will also give you a second CNAME record with a unique value.
It may look something like:
Name: abc123
Destination: gv-abc123.dv.googlehosted.com
Your values will be different.
Copy the exact records Blogger gives you.
Add Blogger CNAME records to your domain
Log in to the website where you purchased your domain.
Open the DNS management section.
Look for something like:
DNS
DNS Records
Manage DNS
Zone Editor
Add the CNAME records shown by Blogger.
For example:
Type: CNAME
Host: www
Points to: ghs.googlehosted.com
Then add the second CNAME record Blogger gave you.
Don’t copy the example values above for the second record. Use the values shown inside your own Blogger account.
Add the Blogger A records
If you want visitors to reach your blog using the root domain:
myblog.com
rather than only:
www.myblog.com
Blogger may ask you to add 4 A records.
The standard Google Blogger A record IP addresses are:
216.239.32.21
216.239.34.21
216.239.36.21
216.239.38.21
Add them as A records for the root domain.
Your DNS panel might look like:
Type: A
Host: @
Points to: 216.239.32.21
Repeat the process for the other 3 IP addresses.
Some domain providers use a blank host field instead of @ for the root domain.
Wait for DNS changes
After adding the DNS records, go back to Blogger.
Enter your custom domain again and click Save.
DNS changes can take some time to update.
Sometimes it works quickly. Sometimes you need to wait longer.
If Blogger still shows an error immediately after you add the records, give the DNS changes some time before changing everything again.
Repeatedly deleting and recreating DNS records every 5 minutes usually creates more confusion.
Turn on HTTPS for Blogger
Once your custom domain is connected, go to:
Settings → HTTPS
Turn on HTTPS Availability.
Then enable:
HTTPS Redirect
HTTPS gives your blog a secure address such as:
https://www.myblog.com
instead of:
http://www.myblog.com
Wait for the HTTPS certificate to become ready if Blogger needs some time to issue it.
Redirect the Blogger domain to your custom domain
After the custom domain works, Blogger should redirect the old Blogspot address to your custom domain when the redirect setting is enabled.
For example:
yourblog.blogspot.com
can send visitors to:
www.yourblog.com
This lets people use your own domain while keeping the Blogger platform behind the site.
Check your Blogger blog
Open your custom domain in a private browser window.
Check the homepage.
Open a few blog posts.
Click the navigation links.
Test your contact page.
Check the site on your phone.
Also try both versions:
https://yourblog.com
https://www.yourblog.com
Your preferred version should load correctly, with the other version redirecting as configured.
Connect Google Search Console
Once your custom domain is working, add it to Google Search Console.
A Domain property can cover the domain and its URL variations.
Verify ownership using the DNS method Google provides.
Then submit your Blogger sitemap if required.
For many Blogger blogs, the sitemap address is:
https://yourblog.com/sitemap.xml
Search Console can then show search performance, indexing information, and other data about your blog.
Start publishing
Your Blogger setup is ready once the custom domain, HTTPS, pages, navigation, and basic settings work correctly.
Now focus on publishing useful posts consistently.
Your domain might be myblog.com, but the domain itself won’t write the articles. Sadly, we haven’t reached that level of laziness yet.